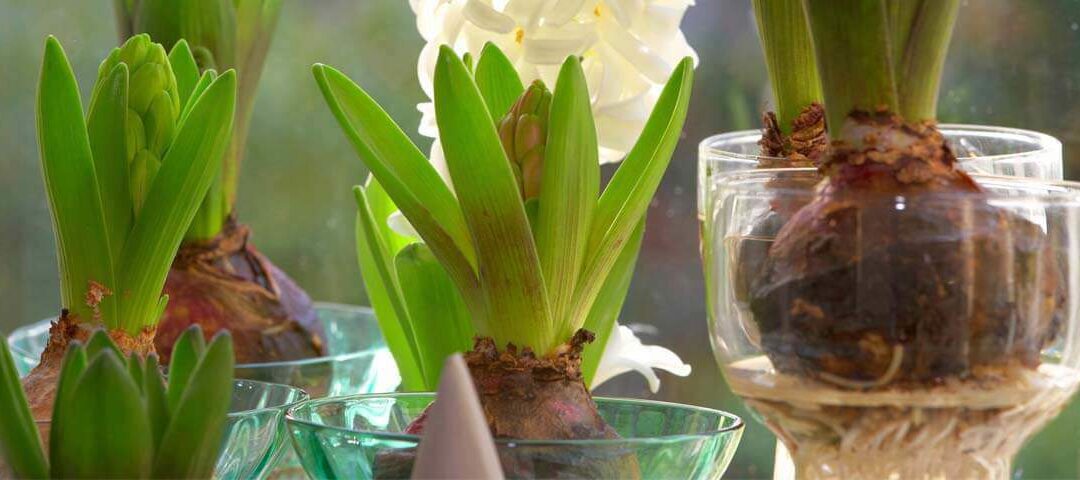
Let me start by saying that the word forcing may sound like a lot of work. It really isn’t. What you’re doing is tricking a bulb into thinking that winter is over and it’s time to flower. You could call it a little sleight of hand. And you reap the rewards of spring fragrance and color when the world outside is decidedly cold and gray.
Forcing spring bulbs into winter bloom was the rage in the 1800s. Hyacinths were especially popular. But there are others to try, too. I love pots of showy amaryllis during the holidays. Though fragrant paperwhites are not my favorite, they are very easy to force in vases. And with a little prep time, you can have pots of tulips and daffodils blooming in your kitchen in late February.
Hyacinths can be forced in special, pinch-necked containers called forcing vases, or planted in pots. They are very easy, as long as they undergo a chill period of 10-12 weeks. You can provide this by keeping the bulbs in your refrigerator for a few months. It is best to store them planted in their containers, watering as needed, so that the roots develop while the sleeping flower buds chill out. And if you plan to force them in a vase, keeping them in the fridge in paper bags will work just fine.
In fact, you can force just about any kind of bulb. Tulips and daffodils will do best when they’re chilled in soil. Plant the bulbs close together and just below the surface of the soil, leaving as much space available for root development as possible. Water them and set in a cool, dark place for 12-16 weeks. The inside corner of an unheated garage is ideal. You are looking for a temperature between 40 and 45 degrees. Keep the pots evenly moist, but never soggy. When the roots are visible through the pot’s drainage hole, coax the bulbs out of hibernation in a cool spot with filtered light.
Paperwhites, cousins to the daffodil, are incredibly simple to force and will be available in the Garden Center soon. For best results, choose a deeper container as the bulbs will develop lots of roots. You can use a pot or a glass vase. Fill the container to within a half-inch of the top with gravel, pebbles or marbles. Set the bulbs on top and gently wiggle them into the gravel to keep them upright. Fill the container with enough water to just touch the bottoms of the bulbs. You should see flowers in 2 to 3 weeks.
Amaryllis are native to South Africa, and in our warmer regions, can be grown outside. In the chilly north, we enjoy their exotic blossoms indoors during the winter holidays. Like paperwhites, amaryllis are ready to grow as soon as you get them home. Choose a pot that’s an inch larger than the diameter of the bulb and use well-drained potting soil. Plant so that the top third of the bulb exposed. We call these the shoulders of the bulb. Water sparingly until growth begins. When the first spike has finished flowering, cut it back and wait for the second. The Garden Center is expecting our first Amaryllis shipment to arrive in the next couple of weeks.
And what to do with the bulbs when they are done blooming? Paperwhites have used all of the energy and should be discarded. Amaryllis can be moved outside in late April and fertilized through the summer. Start their dormancy period in early September and they will be ready to re-pot at the end of November.
And those hardy bulbs can be planted in the garden once the foliage yellows and the ground warms up. Cut back the foliage and be sure to plant them at the proper depth, about 3 times the height of the bulb. This is much deeper than they were planted in the pots. The bulbs may take a year or two off from flowering. And if you are unsure about the process of forcing, you still have about another month, right up until the ground freezes, to plant them in the ground. We know it’s a lot of work, but those first flowers of spring make it all worthwhile. The rewards of delayed gratification are familiar to all gardeners.

